Tuesday, July 31, 2012

PP

We had a Paige Party at our house last week. Our friend Paige Knudsen is engaged to be married next month and some friends and I had a shower for her.
I had intended to be in a finished back yard when I initially planned this thing, but embracing the unfinishedness of the yard was what I had to do for this event.
 It was well attended and we did have some great food. Paige in the purple dress.
Opening some fun gifts.
 The invitations were all yellow and white. Cute and fun just like the bride. My neck didn't handle them well.
 Yummy desserts. Julie H made some terrific cupcakes, and everything turned out well, even though my organization and clean up of the yard was out of control - even for me.
The mother of the bride on the left is a good friend to all.
Best wishes and love for the new bride to be. (Thanks to big sis Andie for the pictures.)

Monday, July 23, 2012

Reduce, REUSE, Recycle

Back in November as a tractor was tearing up our back yard, I asked the operator to save me our in ground wooden bench for a little redo project.
Uncared for yet reliable patio seating
It was about 20 inches wide by 7 feet long and had been placed near our family room door right in front of a brick planter probably 40 years ago when the back yard was first done well.
New finished length for table top
So it sat for several months, cause I wasn't sure which saw to use and or if we even had a saw that would cut through the 4 inch sides. Then I enlisted the help of The Hubby. He cut it in about ⅔ its original length and then took off the top of the short end that was mitered, to replace it onto the cut side of the long end. He also had to miter the 2 edge pieces. I told him it didn't need to be exact because it was supposed to look "rustic",  but he did it pretty perfectly anyway. 
 We also saved the 4 x 4 posts from the cabana overhang that needed to be replaced, and cut them for legs. First we were cutting for a regular coffee table height of about 15 inches, but then we changed our minds and made it more like 20 inches so we can play games or what have you on the table in front of the outdoor couch. At least for some reason or other we decided we liked the taller height for a coffee table this time.
 Now I had to sand down the post for the new legs.
 Then paint them.
A few different colors, so it would look old and as if it had been repainted several times over the last hundred years. (Now it's going to be an antique.)
 Then I did the sanding and painting of the table top. I had to start with a base white coat on this, because the legs had started with white.
 Then I added bright yellow (left over from baby Ellery's newborn bedroom.)
 Then a light blue color was painted on (color left over from the kitchen paint probably 15 years ago.)
Followed by a tan color that we have 4-5 versions of in our shed.
 The Hubby then helped add the legs to the table with brackets as well as screws through the sides of the table. I was not worried about screws showing, but he did have to do a little more nail repair as many of the nails were loosely working their way out.
 We put a rotating wheel on the bottom of each leg, so it'll be easy to move around. Actually maybe a little too easy, so I will place a stop under a couple of the wheels.
 I then sanded it all down so each color of paint shows through in some areas, followed by a complete varnishing.
Lookin' pretty good. Now we'll just put it with some brand spanking new furniture and it'll be right at home. The Hubby thinks this is awfully peculiar, but he humors me and goes along with my hair brained ideas with a smile.
So now we have a nice little memory clad coffee table for our new outdoor covered living space.
Nice save? Silly project? What think ye?

Sunday, July 8, 2012

It Is Expired

I tend to keep things in the backs of cupboards and refrigerators. Perhaps for a rainy day? Perhaps the food storage idea is sometimes taken too far? Or perhaps I just plain forget about looking to see when things need to be all used up. Such was the case when I was wondering why the liquid dish detergent for dishwashing machines was all clumpy and gross as we were attempting to squeeze it out into the dishwashers compartment the other day.
At first just watery liquid poured quickly from the spout, but soon the hole was clogged with hard clumps of grainy detergent.

Does this have an expiration date? It's certainly not perishable like my milk cartons or yogurt containers. 
Oh but it does. This stuff expired in September of 2004. Seriously? I must've bought it in about 2001 or 2002. Surely it doesn't go bad quickly. 
The Hubby had an idea. Let's put it in the blender and see if it makes it back into a single type of liquid.
Oh … it worked!
And my dishes are clean again.
Can you say CHEAP?


Saturday, July 7, 2012

June Backyard Update

This thing is actually coming together and even though it is SO LATE in being completed, I am now at least getting excited to have it finished.
Here is the run down.
The planters next to the house and all through the back are filled with good potting soil and amended very well (I hope.)
Here is the next phase of the fire pit out to the right of the pool area. First the cinder block then the rock veneer cover.
The "bunker" as we are calling it, for the pool equipment is up and fully stucco'd with all the equipment in place. There are still some electrical units to finish and place on the inside walls such as the irrigation clock and increased amperage for the outdoor lighting.
Pit with Aromas rock in place.
Grass area.
Side yard storage cabinets being completed.
Flow through areas from the hot tub to the pool. We changed this up a bit adding one more spill over, and making the rocks gradually go down for more of a trickle effect. We didn't like them at first and after tweaking them with the mason, we think they are better.
This shows the pool coping around the hot tub and the planter next to the back left fence.
From the back corner looking toward the house. This area that I'm standing on while I shoot is going to have another smaller arbor in the end.
We chose this granite that is mined in Brazil. The name of it is Betulaurie and it matches great with our other rock and such.
Here it is being installed for the outdoor kitchen countertop. Looks AWESOME. One of my favorite items yet. It also reminds me of Michael who can't be here right now because of his mission service in Brazil, so he sent us some rock. (not really - but he's my kid right?)
We bought 2 of these planters to flank a door near the kitchen. They are made from the same material that our front porch planters are from, and so I think it makes for a continuous flow from entryway through family room and outside to back yard.
Beginnings of fireplace to the side of the new covered patio.
With interior brick installed.
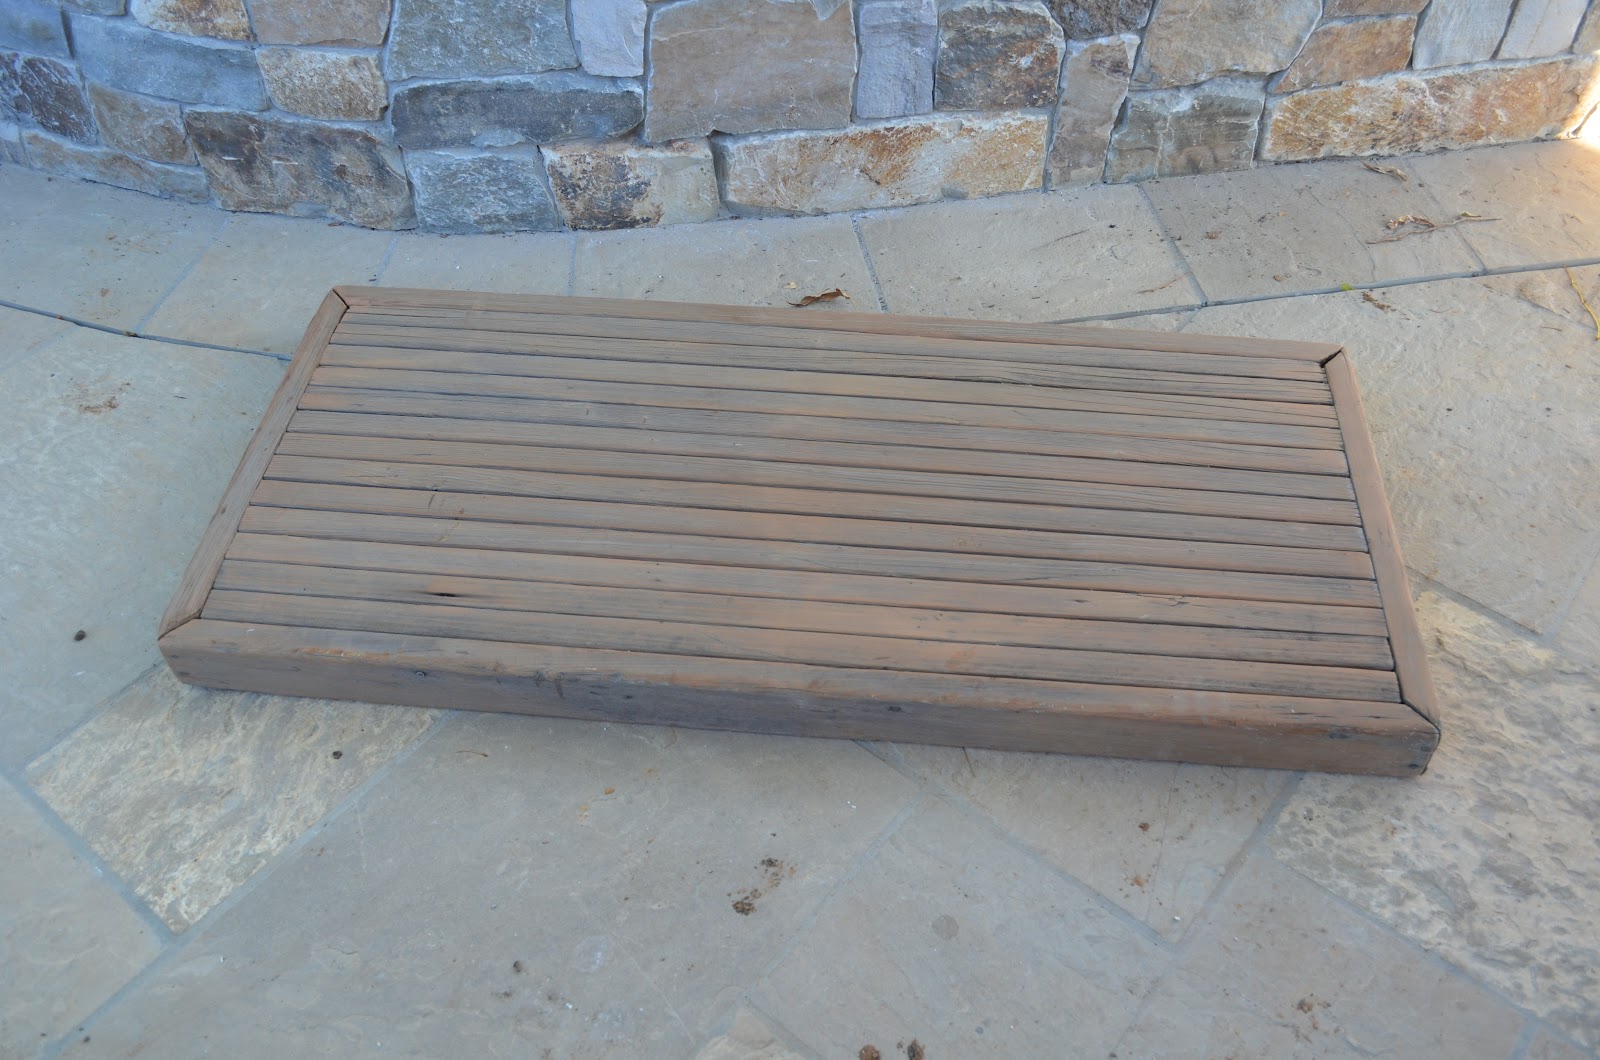
Struggling to move the hearth stone from the front yard to the back.
Alas, it was on a dolly whose wheels fell between the 2 ramps and injured one of the masons finger. 
YIKES.
This 6 inch thick rock sat here for a couple days before they attempted to move it into place again.
Meanwhile, the stucco guys did some patching around the newly installed posts and also the lower edge of the original termite infested house.
Which they then re-stuccoed.
Pool equipment.
Stucco installation.
and finally hearth inhalation. That heavy stone is finally moved out of our driveway where it had taken up residence since about March. There is still its sister stone for the mantle out there, but it isn't as thick and heavy. There is the issue of moving it to the TOP of the fireplace instead of just 15 inches off the ground. We shall see.
It's all level and pretty good. Masons are going to have a little chiseling to do on the front face of the stone as there is some scarring from tools of some kind.
Final stucco coat.
Are you getting the idea that the contractor is actually getting things going here?
Miles of electrical wiring for lights, irrigation, pool equipment, kitchen equipment, heaters, and even a car charger in the garage. Can you say "Snowball affect?"

One of the workers under the sink pulling his leader rope with wire attached to it. They had to be really organized this day as they were helping the electrician get things set up.
Next month update is going to have plants in it. WOOHOO!!!
It could also have a pool completion. The pool man is no longer MIA.

Tuesday, July 3, 2012

Sorry IS Enough

Towards the end of their stay with us last month, Kathryn and I dropped Austin off at the airport and then headed with the 2 little ones to the fabric store for a couple of items. On the way to the store, the wee one fell asleep and so I took Ells into the store and left K and the babe in the car.
As we were entering the store, Ellery gasped and when I looked down and saw my lucite beaded bracelet falling in pieces onto the sidewalk, she looked up at me and said, "Oh Grammi, I am sooo sorry."
She had asked to wear it as we were driving down the road and I had obliged thinking that she doesn't usually get to play with jewelry because her mother doesn't wear it often. :)
I assured her that it was okay and said, "Let's pick up all the pieces and put them in my purse."
Again she said how sorry she was, and as I put her into the shopping cart for a ride 30 seconds later she apologized again. How sorry she was. So CUTE and uncoached in her remorse.
So this post is for Ellery.
I fixed it up just fine, and here is a picture of the finished repair.
 And … I can even wear it again.
Thanks for your fine example of honesty and amends.  You are an awesome 3 year old.