Showing posts with label sewing. Show all posts

Thursday, June 5, 2014

Hashtag Quilt

I got the patterns for a few simple quilts done by Camille Roskelly and decided that this one would be a great place to start. The design uses 2.5 inch "jelly roll" from any line and I chose a cute little old fashioned line by Moda called Chloe's Closet.  Reminds me of my Grandma Kelly, or her kitchen, or something there about.
I had some white on white floralesque fabric that I thought would set it off well and so "a cutting we went." A lot of 2.5 inch strips (which a jelly roll comes prepped for) and 7 - 9.5 inch lengths cut then it was all ready to sew.

All sewn together with 2.5 inch white borders and then a 5 inch floral all the way around.
 A little machine embroidery for the inscription on the back of the quilt with a little information sets it off well.
 I took the quilt into my standard long arm quilter Jenny at Finally Finished Quilts. We decided with the playful geometrics and 1930's style floral fabrics, a nice little flower quilted all over the quilt would compliment it well.  Turned out just right.
Keeping me warm while watching a little television in our outdoor living room. This is the best place to be.

Thursday, April 17, 2014

Perfect Lady(s) For The Easter Parade

The little Colorado granddaughters needed Easter dresses from my stash of fabric this year. I have wanted to use some old pink/blue plaid fabric for a new kind of smocking for many years, and have never quite gotten to it, so this was the year. 
But, first I thought I'd grab some fine white cotton and make a fancy lace embellished dress for the little one. I've also had this fabric for several years and it has woven striping and kind of a French entredeux running down the fabric every ½ inch or so. It is really cool fabric.
I also have some Swiss embroidery insertion that I bought about 22 years ago. This was a time for me when I had just learned the basic methods of old fashioned heirloom sewing and I purchased several yards of some of my favorite types of laces and insertions, and I just looked at them once in a while when I was sorting through my sewing notions.
The picture below shows a close up of the dress bodice. Here the lined fabric runs horizontally whereas the rest of the dress fabric runs vertically. The cotton val lace and embroidery were put together without entredeux and I used the point de paris stitch (#1229) to mimic the look of entredeux. This Bernina 830 machine does such a good job and I starched the fabric making it easier to run through . Turned out great.
I sent the dress to CO with a blue satin sash, but I had to actually go to the store and buy it before I felt like the dress was finished. By then I guess I was over the pictures.
Herre from the back of the dress. I lined this with a lightweight cotton and then added a 6 inch gathered pettiskirt chiffon to give it some lift.
The base of the dress is finished with more lace and pre-embroidered insertion. The ⅛ inch blue satin ribbon adds a little more blue for nice effect.
This French val lal lace is pretty easy to sew together. I just slightly gather the top line of the 1 ½ wide lace and then put it next to the ⅝" lace and set my machine on a small zig zag and go. The wearer has to be a little careful when playing in a dress like this, and I always tell their mother to take off dresses like this before feeding little faces. Then you don't have to wash them each time they wear it.
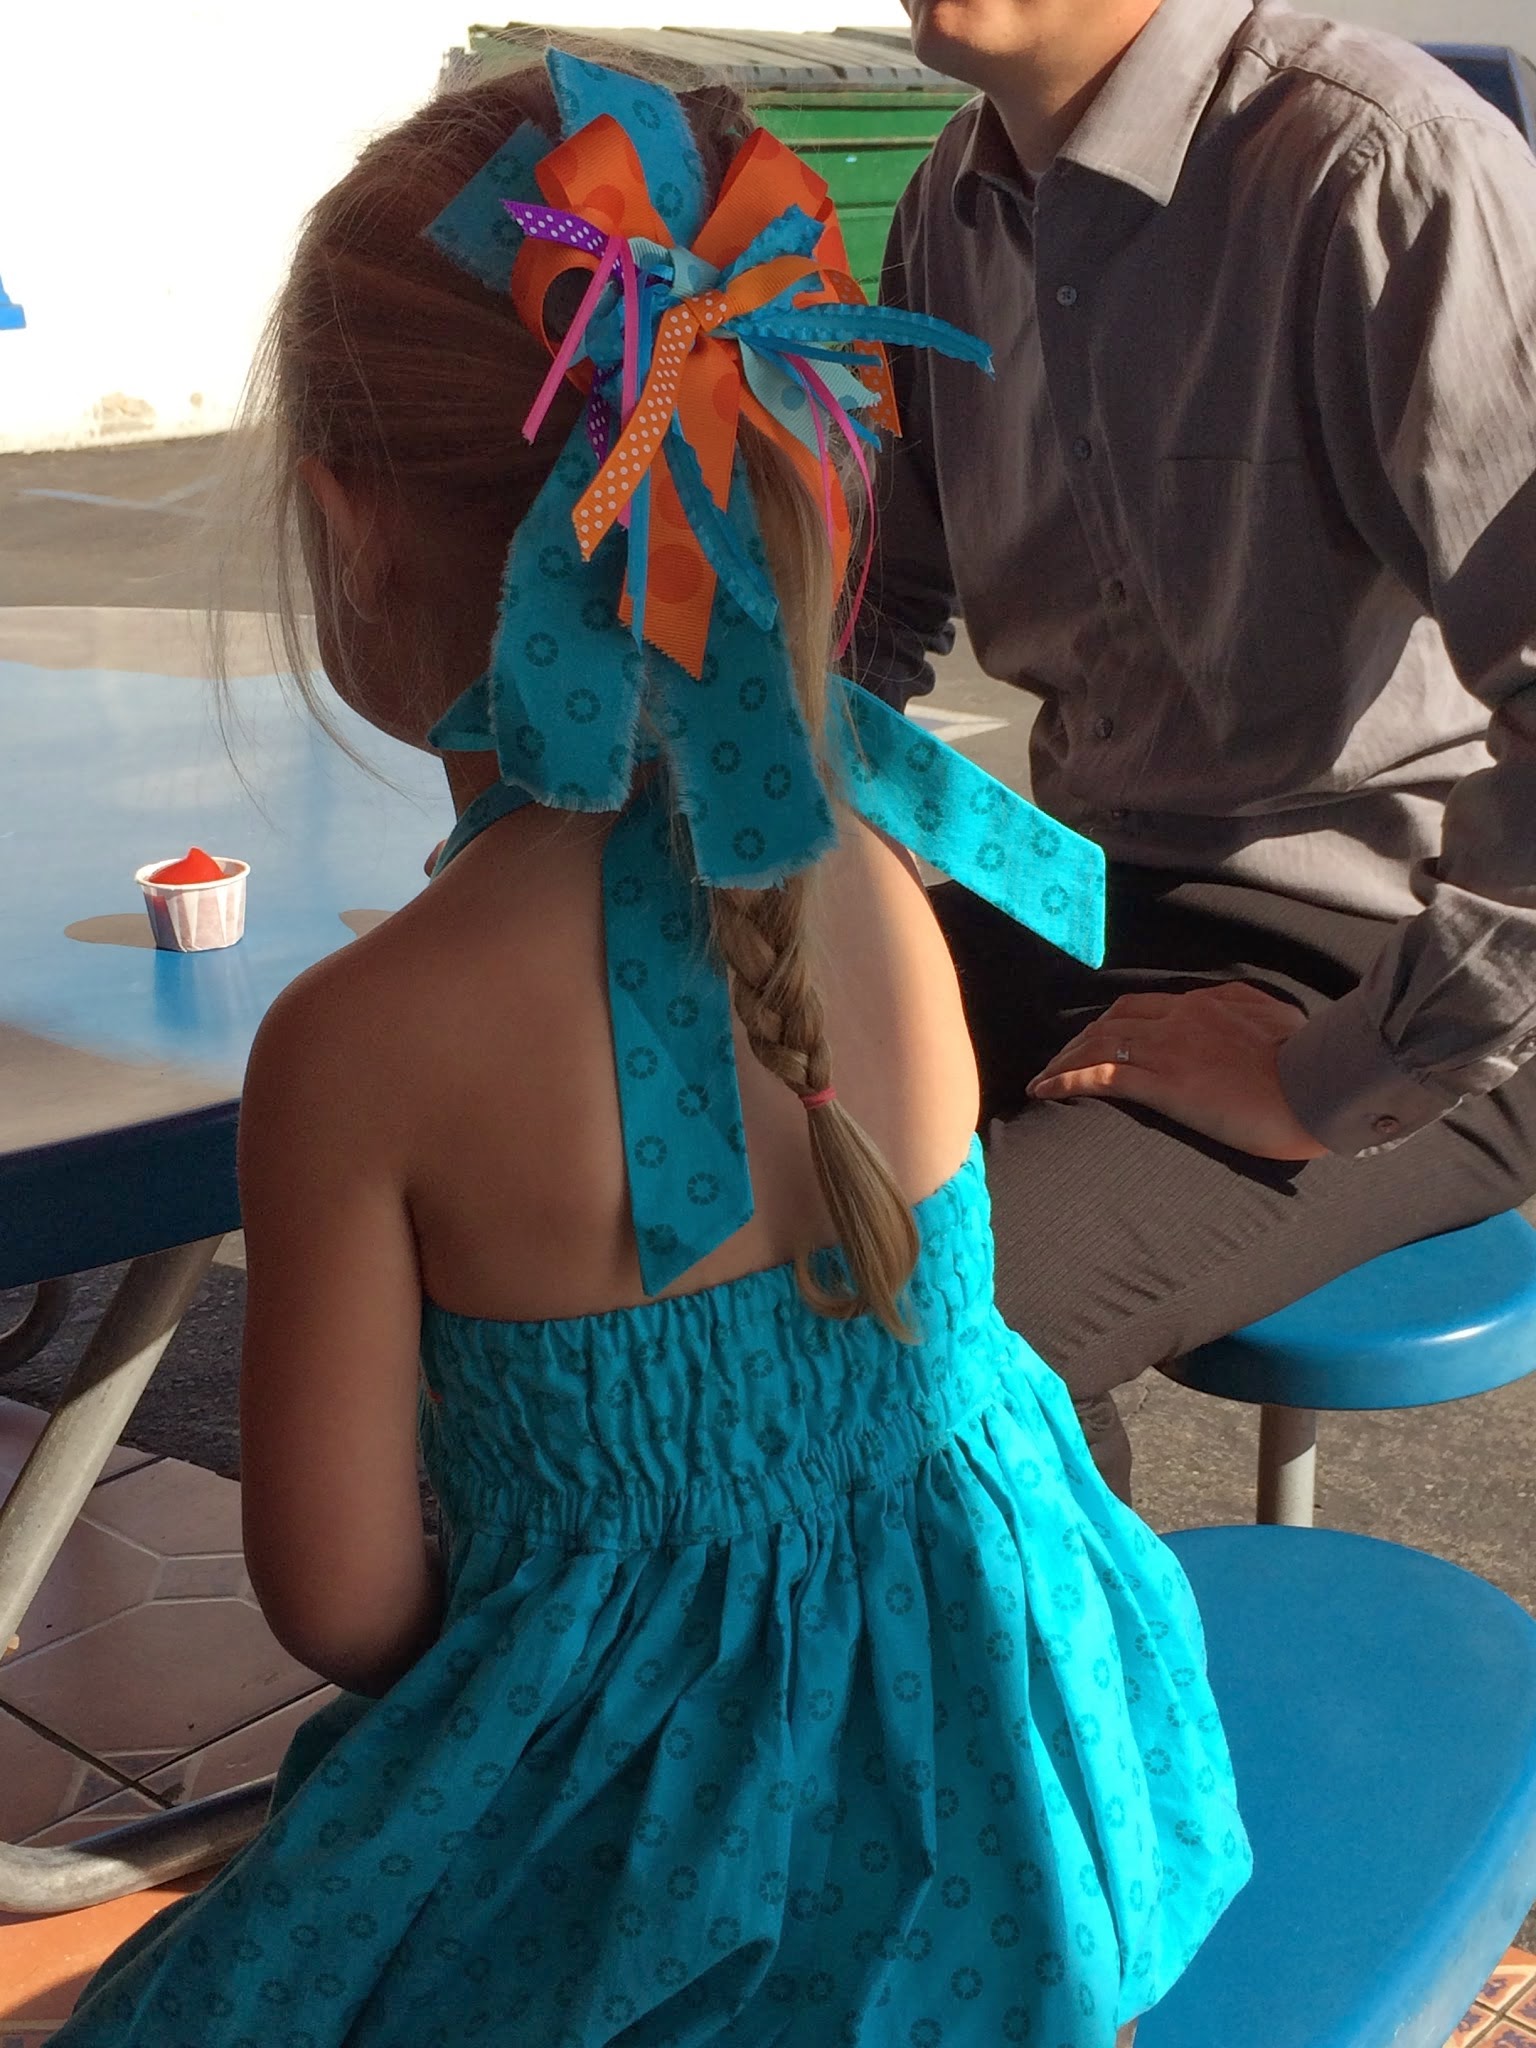
The corkscrew ribbons and some more of the embroidery tape to mimic the dress made a cute little ribbon for her hair.
Now onto the plaid.
Like I said this plaid is needing to be turned into a new kind of smocked dress.
 
You don't have to pleat the fabric to start with, but rather you use the lines of the fabric to make a geometric design in the bodice. I found this heart pattern and went with it. 
Of course I had to make another hair bow to match this dress too.
The white collar and cuffs are a heavier solid white cotton pique. Now that the dress is gone, I feel like I should've put a little heart embroidered on the collar and cuffs. Maybe I'll add something when I go visit these cute little ones next month.
These little females also have a 1 year old brother. I made him a simple tie out of the plaid and so they should all match for the big Sunday celebration.
Maybe they can even walk (i.e. parade) down the halls at church showing of their finery.
Happy Easter.

Wednesday, April 2, 2014

Chuck Taylor

Apparently Chuck Taylor started wearing All-Stars by Converse in 1917 when he was playing basketball in high school. After working as a shoe salesman thereafter, he suggested adding a round protective patch over the ankle and changing some other aspects of the design for comfort and support. The company hired him to help with the design and that was followed by the addition of his name on that ankle patch.
These shoes are all the rage again for little girls and boys alike, and I ordered some to make my version of "altered shoes" for a couple of the granddaughters.
 The first ones are orange low tops that we just glued some crystals to.
I know that sounds a little simplistic, but it really was a super easy project and my cute little granddaughter who was just short of 6 helped me decide which colors to go with. I let her work with some less expensive sticker crystals while I did this and that worked out well.
I bought some nice Swarovski type crystals at Michaels and then just used E6000 Industrial Strength Adhesive to put them onto the plastic toe of the shoe.
I should ask if they are staying tight to find out if it is the right combination of materials. She's been wearing them for a couple months now, so I'll try to find out how it's working out, and report back.

We also added some colorful laces to the shoes in the form of ruffled ¼" ribbon and shoelace plastic end pieces that I purchased from ribbon and bows oh my. They have a crazy assortment of ribbon at this place.

Okay.... onto the next shoe. After I completed the orange shoes I found out I'd ordered too big of sizes for the girls so I've just been dragging my feet on the next project for her big sis. I finally got to them this last week and here's the result.
 Starting with high top "Chuck's" in a bright fuchsia color I hand sewed woolen yarn to these shoes with crazy embroidery stitches.
Using a large and strong needle and metal thimble was key to this project, and I learned as I went. (I always do that, 'cause I always just do one or a few of a project before giving it up for another.)
 These heavy canvas shoes are lined with a lighter weight natural cotton canvas and I pretty much stayed under the lining with my stitches so they don't show through to the inside of the shoe too much. Obviously I have some knots in there that I couldn't avoid showing, but most are actually hidden in other stitching, under seams, or behind the tongue of the shoe.
 I used feather stitch, french knots, stem stitch, and a couple that were new to me.

Some of the stitches I used needed some review as I hadn't done them for several years. I found a lot of great stitch tutorials on this blog here. There are several types of stitches listed on the left side of the blog. The directions were easy and doable making the project easier, and I was happy with the results.

Aren't they SO CUTE!
Hope the girls like them.

Sunday, March 23, 2014

White Dress for Baptism

We actually have a grandchild old enough to get baptized. This time stuff never ceases to amaze me. 
Whole other subject here...

We are Mormon and so baptize at the age of 8 which is when we feel children know the difference between right and wrong. This makes us accountable and so able to make things right when we make mistakes. I asked her if she wanted me to make a dress for the occasion, and she (along with her Mom) agreed. I used lining of peacock blue (left over from Steph(er's) wedding, with a couple of different white embroidered cotton fabrics that you can see the blue through. 

The skirt is a circle with a pleat in the center, and it zips up the back. The neckline has a rounded yoke which is simple and sweet. It has a tea length half slip under it which is fluffy adding more body to the dress. The sleeves also have a pleated bottom in leu of a cuff and gathers, which makes it more suitable for an older girl. Usually the little girls dresses I make are puffed sleeves on top and bottom, which works well for under 6 year olds.

 Grandpa, Grandma, David (Dad,) Kara (Mom,) & Uncle Michael with Lexy in the front.

The dress she is wearing here was made by her other Grandmother for the actual baptism and is culottes so that it doesn't float up too much in the font of water. Then she changed to the dress for the confirmation prayer on her which follows the water immersion.
 Lexy Lou also liked the matching dress I made for her new American Girl doll. Nice addition. I also made bows for the 2 dresses waist area and hair.
What a beautiful little 8 year old.
Congratulations sweet girl!

Friday, August 23, 2013

Something's Fishy

Little girls can wear smocked dresses until they are 6 years old, or there about. After that, they seem to outgrow the look. Therefore I feel the need to make at least one dress of this sort each year and this cute little sundress was my choice most recently.
I started and basically finished the smocking last fall, when I then set it aside for finishing in the spring. I didn't get it out until after our big wedding, and it just took me a few days to get it all wrapped up and finished.
 The pink and orange fishy has fun blue french knot dots to set it apart from all the other fish in the ocean.
 The purple fish should be a favorite of my little granddaughters too. I especially love their bright red smackers.

 The pocket on the front has the same orange piping surrounding it as the line that sets apart the top bodice from the smocked piece.
The back of the dress is drawn up with elastic to make it adapt to the small little backs that it must fit around. (I am watching a rendition of Mansfield Park right now, so I am perhaps sounding a little 19th century British as I write.)
I waited to enter these pictures for want of receiving a picture with the little Ellery wearing it, but I thought I'd now go ahead anyway. Maybe later.
(Update: When we went to SoCal for Thanksgiving, Cossette wore this cute little dress. Below are a couple pictures from that day.)
 Her from the back showing off the fancy hair bow I made to go with the dress.
Now the cute little 3 year old is telling quite a story, and we can see the front of the dress pretty well.

Monday, August 19, 2013

Independence Day Quilt

 I started this quilt last year a month or so before the 4th of July. I quit working on it after I didn't get it finished, in leu (is that how I should spell it?) lieu (thanks to my niece Megan for helping me be a little more literate) of finishing the next projects on my so called table.

Then this year there was a big wedding in our lives, and life got in the way of getting back to the quilt in time to finish it for the celebration of our Country.

I bought the pattern at a cute quilt store in Livermore, CA and it is by Verna Mosquera at "The Vintage Spool." Called Faded Glory if you want to look at her things.
 The pattern calls for hand stitching all the appliqués on by hand, and I had completed a few of them last year, but I decided I didn't need to take the time and effort to do them this way now.  I used iron-on backing on each individual piece and then machine stitched each design with a blind hem stitch or a satin stitch when I thought it would look best. This quilt is not going to be going through wash even once per year, so it'll hold up just fine with the iron on. There are 12 main designs and I think they are so cute that I'll probably make a few pillows or table runners out of some of the patterns eventually.
 The design above is Uncle Sam's hat with a bouquet of flowers in it. A few of the flowers are just cut outs of fabric flowers in a particular piece of fabric. This method of piecing is called Broderie Perse and is basically just fussy cutting a section of fabric that you want to place onto another fabric for a pretty addition to the quilt. You can see the red/pink flowers above are not pieced with stamens and petals, but  cut all in one already printed flower. Apparently they used to do this with Persian or English chintz fabrics for a specific look.
 The firecracker above had bugle beads hand sewn on for the burst of fire on the end. Very cute, if I do say so.
 Same on this wagon full of firecrackers. The blue and red sparklers are beaded.
Another technique I've used on the quilt is my own idea of using my cool embroidery machine to make a couple of sectioned flowers, cutting them out and then sewing them together. Nice new type of embroidery I've never tried before.
The whole thing turned out very well, even if it is the middle of August.

Better luck on my Thanksgiving quilt?

Tuesday, June 11, 2013

Bridesmaids Dresses (Wedding Sewing 2)

Sewing for children is easier and more forgiving than fitting and styling for adults in my opinion. I suppose this really just shows that my talent and knowledge doesn't lie in the fitting process.
I always have a certain idea in my head and just have a tad bit of difficulty seeing that idea come to fruition. There are probably several reasons for this:

1.  Finding a pattern that mimics what I have in mind is nearly impossible, and combining patterns doesn't always seem to work for me, even though I never make anything these days without combining at least 2 patterns.

2.  The styles that are popular have to be modified in order to make more modest clothing that I am trying to come up with. Bearing this in mind, I have to add some sleeves and raise a neckline or lower a hem without making the garment look frumpy. This is my biggest challenge.

3.  I haven't sewn enough for different body types to feel comfortable changing lengths, widths, shortenings, etc to ensure the best fit for each.

But ... A certain daughter of mine really wanted me to sew her wedding gown and if I agreed to sew her bridesmaids dresses instead, then she would let me off the hook.  Well, it's sort of a story along those lines anyway?

 So my trip to the crazy full fabric store "Fabrics R Us" found many different types of fabric in the turquoise, or Tiffany Blue, or Robin's Egg Blue that Steph wanted for the main color on the wedding day. I picked up some satin polyester, some poly chiffon, and some opaque lining poly to try out for different applications on the day. I also got nude lining samples and white lining to try with the chiffon, to see which one would look the best in a flowing long dress.
 Then I found some great crystal designs as well as individual sew-on crystals for a belt to match/blend with the brides belt.  I sent example pictures to her so she could give me her input on what looked the best and what was her vision of the bridesmaids dresses. We both thought the belts should be the same color as the dresses, and I looked far and wide for a wide matching grosgrain ribbon but in the end I couldn't find 2 1/2 inch ribbon even in satin that was the right color, so I made sashes out of the fashion fabric so it was an exact match.
 Stephanie's friend Nina was in town from Germany in February, so I quickly made up a dress like we had in mind for her to be fitted with. The cap sleeves are kind of a tulip type sleeve where there are two halves that overlap at the top of the shoulder coming off of the sides. I put pleats in them and we liked the look, so we decided to kind of mimic that in the bodice of the dress.
Here it is not quite put together yet, just to fit it on her. After that I put in the zipper, attached the sleeves and ironed more cover fabrics for the linings. I ironed those pleats in for HOURS, and they looked terrible to me when tried on, so I ironed a different direction and tried to get it to hang just so from the shoulders to the waist.
All 5 of them were somewhat different in the bodice pleating, because I never was happy with how it looked on the finished dress, so I would change it, hoping for a better result. I never really got one, but the little sleeves were cool and so was the flowing full skirt, and ultimately these 5 girls are beautiful so they really look good in anything they wear, so they were going to be just fine.
Here is one dress ready to try on. I would not put the zipper or sleeves onto the dress until after trying it on the girl, so I could easily change things up if necessary.
We ordered wooden hangers with the girls names on them so they could keep them apart if they were all in one place on the wedding day.

 I did like the look of the sleeves.
 The belts made on the fashion fabric turned out fabulously.
I also got a new tool for my sewing room for this project. It is a heat cutting tool. So no hem in these dresses needed to be sewn. I just literally cut the bottom off with this tool and no fraying.
It made them move in a flow that was even better than if they'd have had even a little rolled hem.
 I had to send many pictures to Stephanie for approval on design.
 Do you want the belt in a bow on the back?
Or just tied in a knot?
Maid of Honor, Kathryn, had her dress made last. (Cause she had a baby almost 3 months previous, so I concentrated on the other girls dresses first)
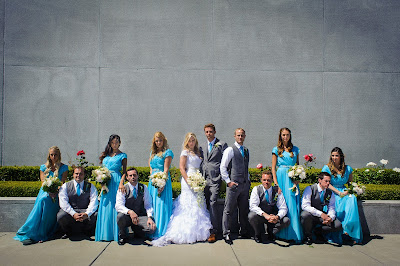
Very cool picture they posed for here.
Patiently waiting for the Bride and Groom to come out of the temple after the wedding/sealing ceremony.
Here are the 5 beautiful besties of the bride. Nina, Brittany, Kathryn, Hilary, Chelsey.