Showing posts with label child clothes. Show all posts

Thursday, April 17, 2014

Perfect Lady(s) For The Easter Parade

The little Colorado granddaughters needed Easter dresses from my stash of fabric this year. I have wanted to use some old pink/blue plaid fabric for a new kind of smocking for many years, and have never quite gotten to it, so this was the year. 
But, first I thought I'd grab some fine white cotton and make a fancy lace embellished dress for the little one. I've also had this fabric for several years and it has woven striping and kind of a French entredeux running down the fabric every ½ inch or so. It is really cool fabric.
I also have some Swiss embroidery insertion that I bought about 22 years ago. This was a time for me when I had just learned the basic methods of old fashioned heirloom sewing and I purchased several yards of some of my favorite types of laces and insertions, and I just looked at them once in a while when I was sorting through my sewing notions.
The picture below shows a close up of the dress bodice. Here the lined fabric runs horizontally whereas the rest of the dress fabric runs vertically. The cotton val lace and embroidery were put together without entredeux and I used the point de paris stitch (#1229) to mimic the look of entredeux. This Bernina 830 machine does such a good job and I starched the fabric making it easier to run through . Turned out great.
I sent the dress to CO with a blue satin sash, but I had to actually go to the store and buy it before I felt like the dress was finished. By then I guess I was over the pictures.
Herre from the back of the dress. I lined this with a lightweight cotton and then added a 6 inch gathered pettiskirt chiffon to give it some lift.
The base of the dress is finished with more lace and pre-embroidered insertion. The ⅛ inch blue satin ribbon adds a little more blue for nice effect.
This French val lal lace is pretty easy to sew together. I just slightly gather the top line of the 1 ½ wide lace and then put it next to the ⅝" lace and set my machine on a small zig zag and go. The wearer has to be a little careful when playing in a dress like this, and I always tell their mother to take off dresses like this before feeding little faces. Then you don't have to wash them each time they wear it.
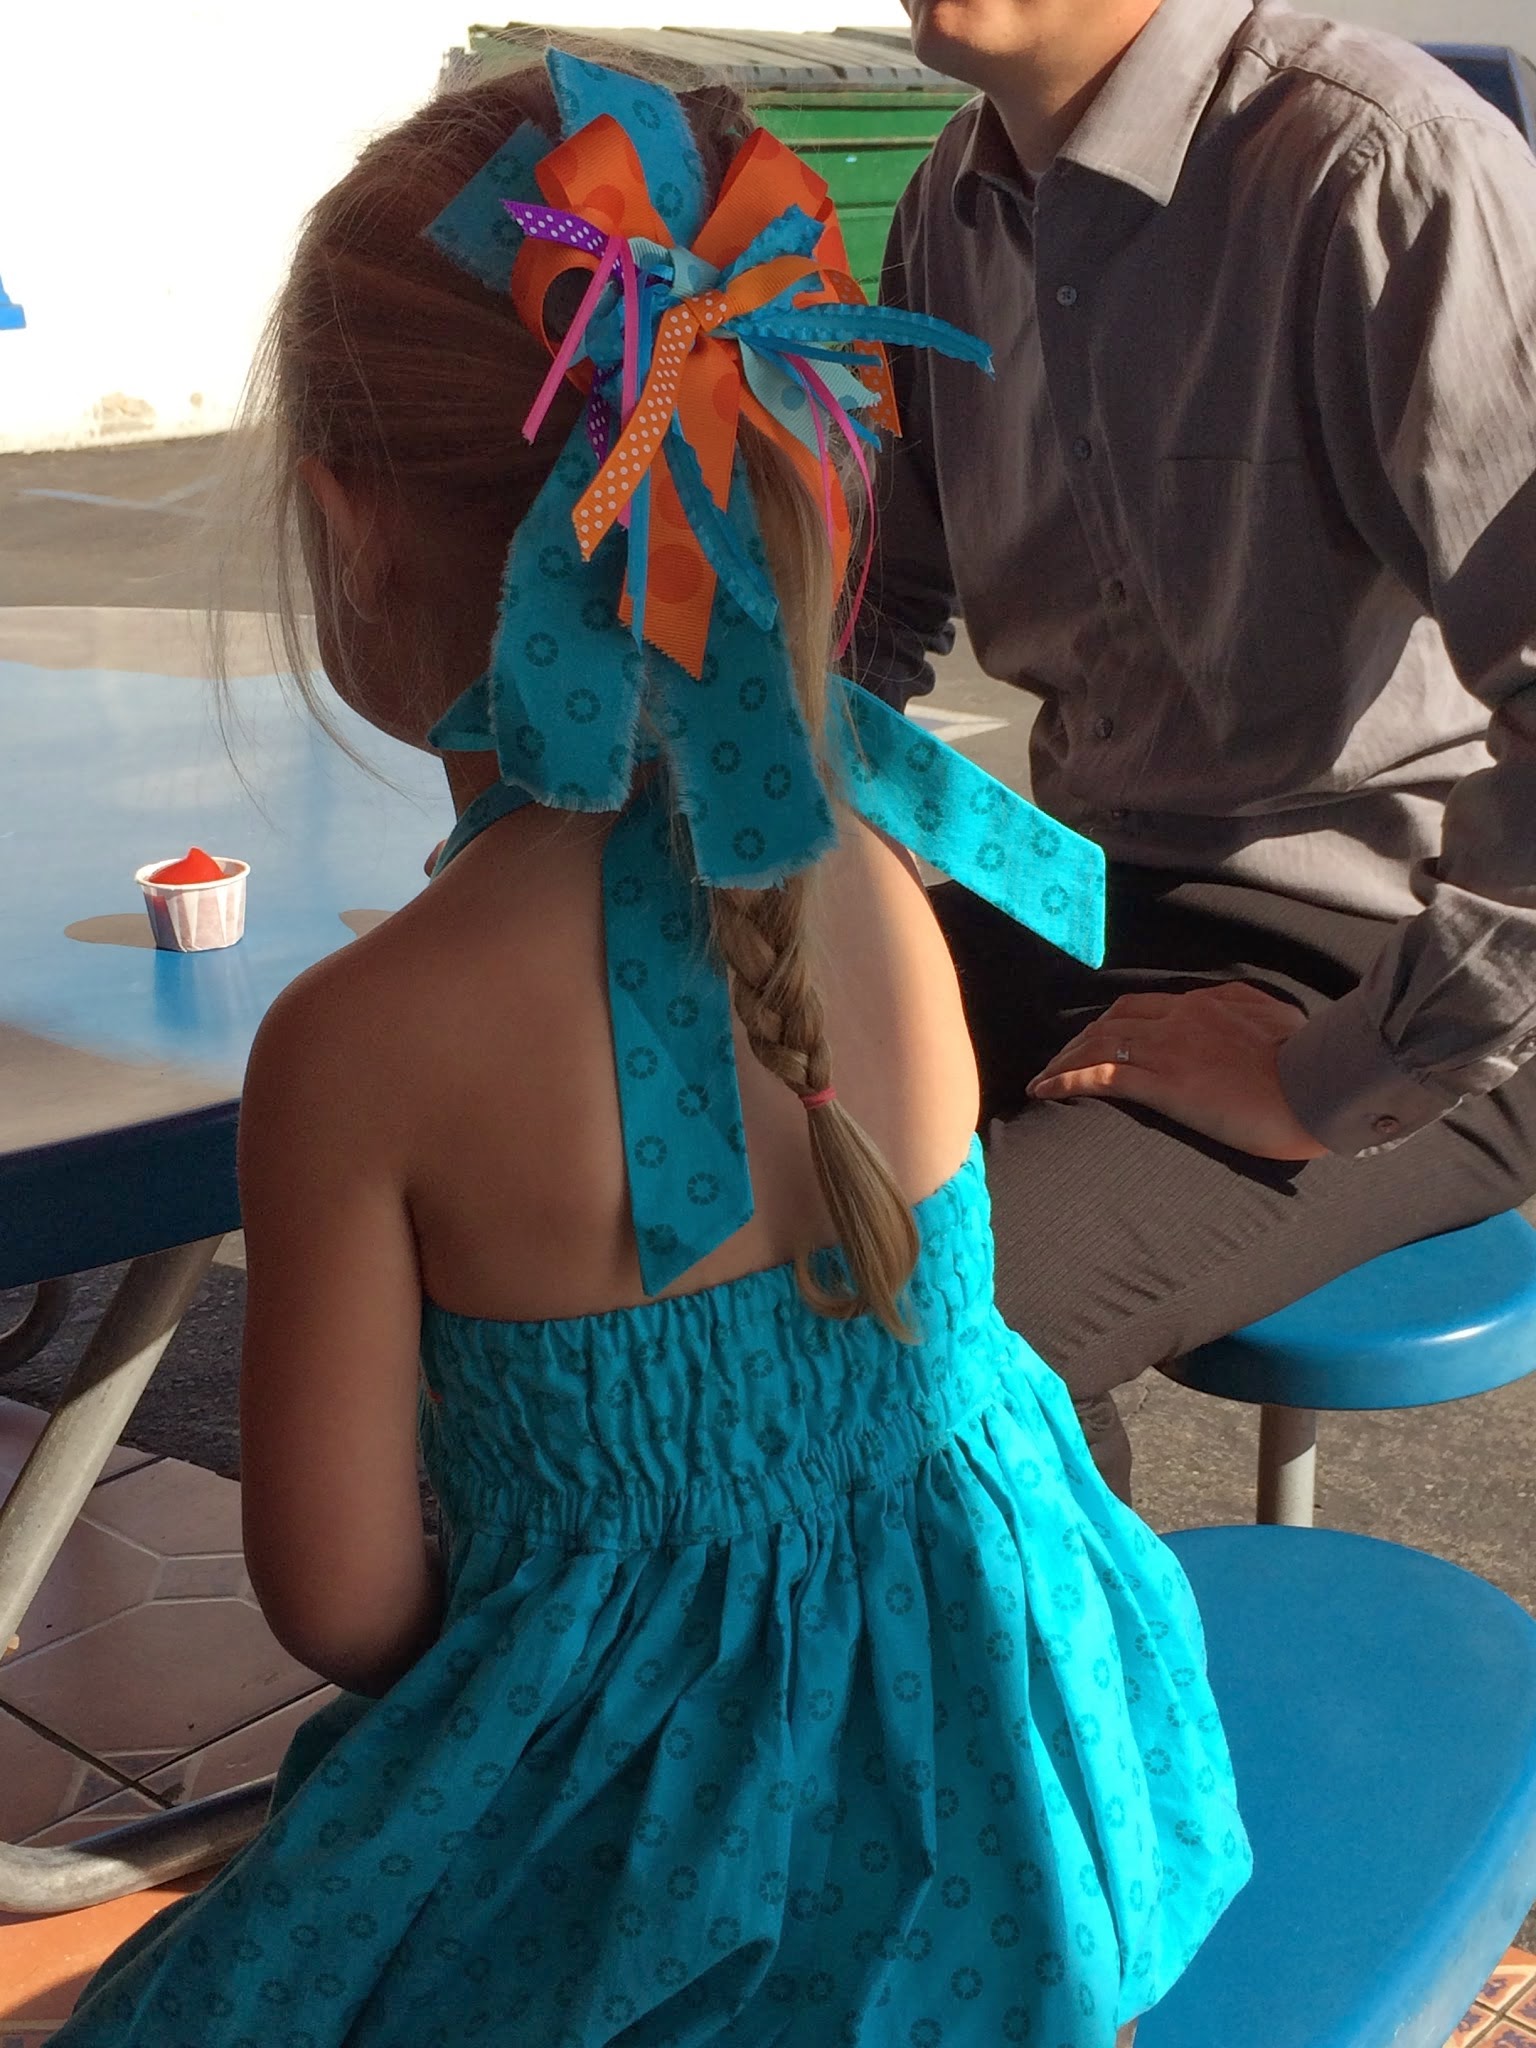
The corkscrew ribbons and some more of the embroidery tape to mimic the dress made a cute little ribbon for her hair.
Now onto the plaid.
Like I said this plaid is needing to be turned into a new kind of smocked dress.
 
You don't have to pleat the fabric to start with, but rather you use the lines of the fabric to make a geometric design in the bodice. I found this heart pattern and went with it. 
Of course I had to make another hair bow to match this dress too.
The white collar and cuffs are a heavier solid white cotton pique. Now that the dress is gone, I feel like I should've put a little heart embroidered on the collar and cuffs. Maybe I'll add something when I go visit these cute little ones next month.
These little females also have a 1 year old brother. I made him a simple tie out of the plaid and so they should all match for the big Sunday celebration.
Maybe they can even walk (i.e. parade) down the halls at church showing of their finery.
Happy Easter.

Wednesday, April 2, 2014

Chuck Taylor

Apparently Chuck Taylor started wearing All-Stars by Converse in 1917 when he was playing basketball in high school. After working as a shoe salesman thereafter, he suggested adding a round protective patch over the ankle and changing some other aspects of the design for comfort and support. The company hired him to help with the design and that was followed by the addition of his name on that ankle patch.
These shoes are all the rage again for little girls and boys alike, and I ordered some to make my version of "altered shoes" for a couple of the granddaughters.
 The first ones are orange low tops that we just glued some crystals to.
I know that sounds a little simplistic, but it really was a super easy project and my cute little granddaughter who was just short of 6 helped me decide which colors to go with. I let her work with some less expensive sticker crystals while I did this and that worked out well.
I bought some nice Swarovski type crystals at Michaels and then just used E6000 Industrial Strength Adhesive to put them onto the plastic toe of the shoe.
I should ask if they are staying tight to find out if it is the right combination of materials. She's been wearing them for a couple months now, so I'll try to find out how it's working out, and report back.

We also added some colorful laces to the shoes in the form of ruffled ¼" ribbon and shoelace plastic end pieces that I purchased from ribbon and bows oh my. They have a crazy assortment of ribbon at this place.

Okay.... onto the next shoe. After I completed the orange shoes I found out I'd ordered too big of sizes for the girls so I've just been dragging my feet on the next project for her big sis. I finally got to them this last week and here's the result.
 Starting with high top "Chuck's" in a bright fuchsia color I hand sewed woolen yarn to these shoes with crazy embroidery stitches.
Using a large and strong needle and metal thimble was key to this project, and I learned as I went. (I always do that, 'cause I always just do one or a few of a project before giving it up for another.)
 These heavy canvas shoes are lined with a lighter weight natural cotton canvas and I pretty much stayed under the lining with my stitches so they don't show through to the inside of the shoe too much. Obviously I have some knots in there that I couldn't avoid showing, but most are actually hidden in other stitching, under seams, or behind the tongue of the shoe.
 I used feather stitch, french knots, stem stitch, and a couple that were new to me.

Some of the stitches I used needed some review as I hadn't done them for several years. I found a lot of great stitch tutorials on this blog here. There are several types of stitches listed on the left side of the blog. The directions were easy and doable making the project easier, and I was happy with the results.

Aren't they SO CUTE!
Hope the girls like them.

Sunday, March 23, 2014

White Dress for Baptism

We actually have a grandchild old enough to get baptized. This time stuff never ceases to amaze me. 
Whole other subject here...

We are Mormon and so baptize at the age of 8 which is when we feel children know the difference between right and wrong. This makes us accountable and so able to make things right when we make mistakes. I asked her if she wanted me to make a dress for the occasion, and she (along with her Mom) agreed. I used lining of peacock blue (left over from Steph(er's) wedding, with a couple of different white embroidered cotton fabrics that you can see the blue through. 

The skirt is a circle with a pleat in the center, and it zips up the back. The neckline has a rounded yoke which is simple and sweet. It has a tea length half slip under it which is fluffy adding more body to the dress. The sleeves also have a pleated bottom in leu of a cuff and gathers, which makes it more suitable for an older girl. Usually the little girls dresses I make are puffed sleeves on top and bottom, which works well for under 6 year olds.

 Grandpa, Grandma, David (Dad,) Kara (Mom,) & Uncle Michael with Lexy in the front.

The dress she is wearing here was made by her other Grandmother for the actual baptism and is culottes so that it doesn't float up too much in the font of water. Then she changed to the dress for the confirmation prayer on her which follows the water immersion.
 Lexy Lou also liked the matching dress I made for her new American Girl doll. Nice addition. I also made bows for the 2 dresses waist area and hair.
What a beautiful little 8 year old.
Congratulations sweet girl!

Friday, August 23, 2013

Something's Fishy

Little girls can wear smocked dresses until they are 6 years old, or there about. After that, they seem to outgrow the look. Therefore I feel the need to make at least one dress of this sort each year and this cute little sundress was my choice most recently.
I started and basically finished the smocking last fall, when I then set it aside for finishing in the spring. I didn't get it out until after our big wedding, and it just took me a few days to get it all wrapped up and finished.
 The pink and orange fishy has fun blue french knot dots to set it apart from all the other fish in the ocean.
 The purple fish should be a favorite of my little granddaughters too. I especially love their bright red smackers.

 The pocket on the front has the same orange piping surrounding it as the line that sets apart the top bodice from the smocked piece.
The back of the dress is drawn up with elastic to make it adapt to the small little backs that it must fit around. (I am watching a rendition of Mansfield Park right now, so I am perhaps sounding a little 19th century British as I write.)
I waited to enter these pictures for want of receiving a picture with the little Ellery wearing it, but I thought I'd now go ahead anyway. Maybe later.
(Update: When we went to SoCal for Thanksgiving, Cossette wore this cute little dress. Below are a couple pictures from that day.)
 Her from the back showing off the fancy hair bow I made to go with the dress.
Now the cute little 3 year old is telling quite a story, and we can see the front of the dress pretty well.

Thursday, August 1, 2013

Capes

I found this great tutorial on a kids clothing blog last year and finally made up some capes for a few of the granddaughters. The tutorial includes an adorable pill box hat, and I was really tempted, but instead I decided to make thick headbands that keep a little ones ears warm.
                           
I wanted a couple of lime ones to match little outfits the girls have and found some fleece on sale to accomplish that.
Then I had some left over royal blue fleece and got busy on one in that color. The polkadot lining went into both of these, and then I made another Lime one with a different lining. These are literally circles with a small circle in the center for the neck, and a straight cut up the center front. Then the lining cut the same size is sewn together around the edges and the piece tuned right side out. Easy peasy.
I think they turned out really cute, and the oldest of the girlies was totally confused because she said  she thought I was "making her a cape and this is kind of a weird one."  Her cute daddy had to explain to her that Superman and other hero's stole the article of clothing from the garment industry who has been making capes for warmth and cover for centuries.
I keep thinking I'll get a picture with the girls wearing them, but in the meantime - here they are.

Thursday, June 20, 2013

Flower Girls Dresses

 These dresses, of course, were the easiest and least stressful of the sewing that I had to do for our recent wedding. I'm more familiar and comfortable making things for little girls than any other demographic.
So ... what should we make and out of what kind of fabric, and what color, and, and, and....???
We decided to basically use this Butterick pattern #5705, although Steph didn't want pleats, but rather just simple gathers at the waist. I modified the sleeves and made my own version of the slip underneath which was much better. I guess the pattern companies don't want to make things too complicated so they don't suggest fabrics like nylon chiffon that are not easy to find, but it makes a far superior full slip.
The bride and I decided on a classic silk taffeta. It was costly and I had to be careful not to water stain it as well as pierce it with pins, because those kinds of abuses to this fabric will show up forever. If you get it wet, you have to get it ALL wet, and if you pin it, you should try to do it where you won't see the marks such as on the inside of the seams.
With this in mind I embarked on this project.
 I took the cut out dresses with me to Kathryn's house so I could get going on these dresses while I was helping her and her family. She was on bedrest the last 6 weeks or so of her pregnancy. Due to have this baby in mid March, I went in February for a week to help them out, then I went back there when the little guy (Ford James) was a week old.
 Kathryn borrowed a sewing machine from a kind neighbor, and so I could get some sewing done while I was visiting. It was extremely helpful to get a jump on these dresses, cause I was a little bit freaking out about the amount of sewing I needed to accomplish before June. My goal was actually to get it all finished by May because I knew that other things with the wedding were going to creep in and steal away my time.
 We decided to put white iridescent sashes and inner sleeves on the dresses and make a full attached pettie-slip in white to go underneath the dresses. This really dressed them up along with the fabric choice.
I made a size 7, 2- size 4's and a smallish size 3.
 Fronts and backs of the dresses all finished.
I also made 2 little bow ties for the little nephews to wear. Did I mention that the 4 little girls are the brides nieces?  (All my cute grandchildren.) 
Giving a nice kiss.
 Our sons' beautiful family.
" Is this what you want me to do?"
 Showing off her "petti" while waiting for the Bride to come out of the temple.
 With Grandma Joycie.
 Big boy being as patient as he can.
 For the ring ceremony at our home later and before the reception, the kids walked out of the house before the bride and groom. They were adorable if I may say so.

 They sat very well on the side of the steps leading up to the lawn, and listened to the 12 minute program.


Seriously?
 Here's a good look at the back of the dresses. Those covered buttons took me a bit of time. But they look great.
Love this!
"Dancin' the Night Away."


There are so many other photos of these cute little people. Thanks for indulging me and looking at 25 pictures of ONE dress.
THE END

You can go back to what you were doing.