Showing posts with label heirloom work. Show all posts

Friday, April 25, 2014

Cookie Placecards

 I've taken to decorating cookies lately. At Christmas I did some fancy trees, girls, etc., and this time it was for a little luncheon/tea that Debbie, Carolyn and I had for Laurie's daughter Jayne who is getting married.
We ate great food, toured Laurie's beautiful refinished apartment in the city and shared stories.
Here, I am just writing about the personalized cookies I crafted for the event.
Some of the cookies were iced with flood consistency royal icing in yellow followed by spokes of blue through the circle. You then drag a toothpick through the colors to marbleize them and then let the icing dry.
Starting out with pale yellow royal icing, I made a couple of styles of round cookies. This icing dries to a hard smooth finish if it starts out the right consistency. I basically copied this cookie from a tutorial I found on a Julia Usher site.
Literally used a rubber stamp from my stash and tapped it onto a paper towel that I had lightly covered with maroon colored gel food coloring. I then diluted some pink and green food coloring and  colored in the design lightly with a brush.


I personalized the cookies and placed bicolored dots of icing around each  after "glueing" a cookie frame to the top of the base cookie.  Then glued the double wide nameplate to the base with more royal icing. Learning all the time here. Next time I'll lessen the glue, and cut out the frame on a silpat so I don't have to move them around or touch them before cooking.
Here is a picture of the two girls flanking Carolyn at the tea. We loved getting to know Maggie and had a wonderful time eating and socializing with the group.

Thursday, April 17, 2014

Perfect Lady(s) For The Easter Parade

The little Colorado granddaughters needed Easter dresses from my stash of fabric this year. I have wanted to use some old pink/blue plaid fabric for a new kind of smocking for many years, and have never quite gotten to it, so this was the year. 
But, first I thought I'd grab some fine white cotton and make a fancy lace embellished dress for the little one. I've also had this fabric for several years and it has woven striping and kind of a French entredeux running down the fabric every ½ inch or so. It is really cool fabric.
I also have some Swiss embroidery insertion that I bought about 22 years ago. This was a time for me when I had just learned the basic methods of old fashioned heirloom sewing and I purchased several yards of some of my favorite types of laces and insertions, and I just looked at them once in a while when I was sorting through my sewing notions.
The picture below shows a close up of the dress bodice. Here the lined fabric runs horizontally whereas the rest of the dress fabric runs vertically. The cotton val lace and embroidery were put together without entredeux and I used the point de paris stitch (#1229) to mimic the look of entredeux. This Bernina 830 machine does such a good job and I starched the fabric making it easier to run through . Turned out great.
I sent the dress to CO with a blue satin sash, but I had to actually go to the store and buy it before I felt like the dress was finished. By then I guess I was over the pictures.
Herre from the back of the dress. I lined this with a lightweight cotton and then added a 6 inch gathered pettiskirt chiffon to give it some lift.
The base of the dress is finished with more lace and pre-embroidered insertion. The ⅛ inch blue satin ribbon adds a little more blue for nice effect.
This French val lal lace is pretty easy to sew together. I just slightly gather the top line of the 1 ½ wide lace and then put it next to the ⅝" lace and set my machine on a small zig zag and go. The wearer has to be a little careful when playing in a dress like this, and I always tell their mother to take off dresses like this before feeding little faces. Then you don't have to wash them each time they wear it.
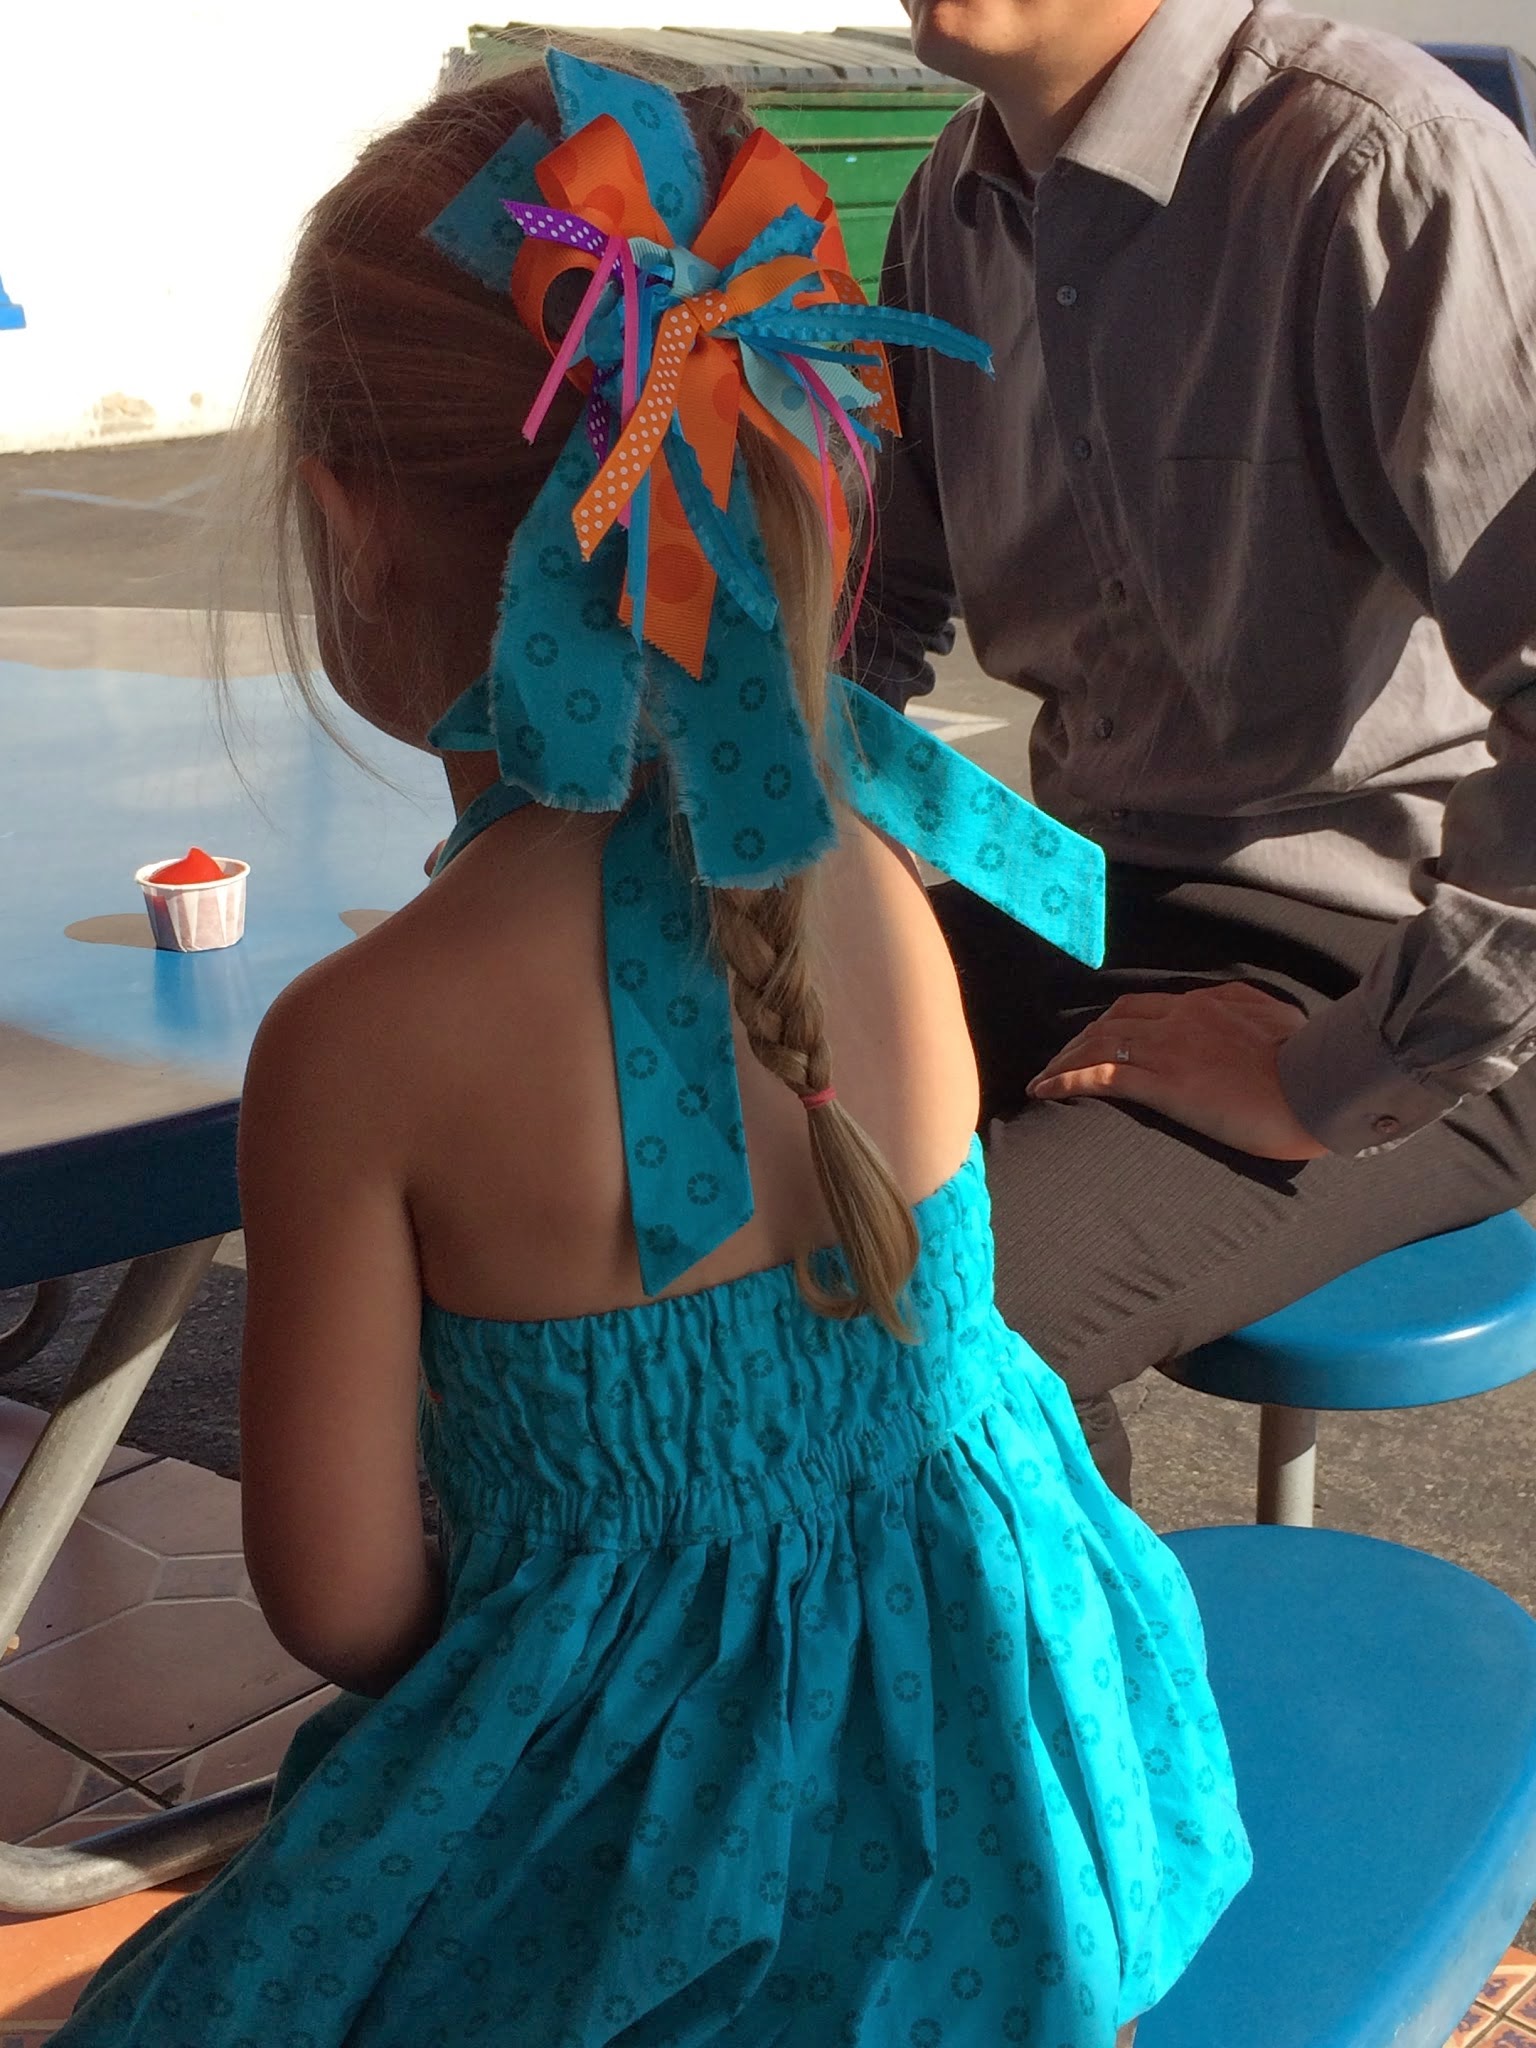
The corkscrew ribbons and some more of the embroidery tape to mimic the dress made a cute little ribbon for her hair.
Now onto the plaid.
Like I said this plaid is needing to be turned into a new kind of smocked dress.
 
You don't have to pleat the fabric to start with, but rather you use the lines of the fabric to make a geometric design in the bodice. I found this heart pattern and went with it. 
Of course I had to make another hair bow to match this dress too.
The white collar and cuffs are a heavier solid white cotton pique. Now that the dress is gone, I feel like I should've put a little heart embroidered on the collar and cuffs. Maybe I'll add something when I go visit these cute little ones next month.
These little females also have a 1 year old brother. I made him a simple tie out of the plaid and so they should all match for the big Sunday celebration.
Maybe they can even walk (i.e. parade) down the halls at church showing of their finery.
Happy Easter.

Wednesday, April 2, 2014

Chuck Taylor

Apparently Chuck Taylor started wearing All-Stars by Converse in 1917 when he was playing basketball in high school. After working as a shoe salesman thereafter, he suggested adding a round protective patch over the ankle and changing some other aspects of the design for comfort and support. The company hired him to help with the design and that was followed by the addition of his name on that ankle patch.
These shoes are all the rage again for little girls and boys alike, and I ordered some to make my version of "altered shoes" for a couple of the granddaughters.
 The first ones are orange low tops that we just glued some crystals to.
I know that sounds a little simplistic, but it really was a super easy project and my cute little granddaughter who was just short of 6 helped me decide which colors to go with. I let her work with some less expensive sticker crystals while I did this and that worked out well.
I bought some nice Swarovski type crystals at Michaels and then just used E6000 Industrial Strength Adhesive to put them onto the plastic toe of the shoe.
I should ask if they are staying tight to find out if it is the right combination of materials. She's been wearing them for a couple months now, so I'll try to find out how it's working out, and report back.

We also added some colorful laces to the shoes in the form of ruffled ¼" ribbon and shoelace plastic end pieces that I purchased from ribbon and bows oh my. They have a crazy assortment of ribbon at this place.

Okay.... onto the next shoe. After I completed the orange shoes I found out I'd ordered too big of sizes for the girls so I've just been dragging my feet on the next project for her big sis. I finally got to them this last week and here's the result.
 Starting with high top "Chuck's" in a bright fuchsia color I hand sewed woolen yarn to these shoes with crazy embroidery stitches.
Using a large and strong needle and metal thimble was key to this project, and I learned as I went. (I always do that, 'cause I always just do one or a few of a project before giving it up for another.)
 These heavy canvas shoes are lined with a lighter weight natural cotton canvas and I pretty much stayed under the lining with my stitches so they don't show through to the inside of the shoe too much. Obviously I have some knots in there that I couldn't avoid showing, but most are actually hidden in other stitching, under seams, or behind the tongue of the shoe.
 I used feather stitch, french knots, stem stitch, and a couple that were new to me.

Some of the stitches I used needed some review as I hadn't done them for several years. I found a lot of great stitch tutorials on this blog here. There are several types of stitches listed on the left side of the blog. The directions were easy and doable making the project easier, and I was happy with the results.

Aren't they SO CUTE!
Hope the girls like them.

Friday, August 23, 2013

Something's Fishy

Little girls can wear smocked dresses until they are 6 years old, or there about. After that, they seem to outgrow the look. Therefore I feel the need to make at least one dress of this sort each year and this cute little sundress was my choice most recently.
I started and basically finished the smocking last fall, when I then set it aside for finishing in the spring. I didn't get it out until after our big wedding, and it just took me a few days to get it all wrapped up and finished.
 The pink and orange fishy has fun blue french knot dots to set it apart from all the other fish in the ocean.
 The purple fish should be a favorite of my little granddaughters too. I especially love their bright red smackers.

 The pocket on the front has the same orange piping surrounding it as the line that sets apart the top bodice from the smocked piece.
The back of the dress is drawn up with elastic to make it adapt to the small little backs that it must fit around. (I am watching a rendition of Mansfield Park right now, so I am perhaps sounding a little 19th century British as I write.)
I waited to enter these pictures for want of receiving a picture with the little Ellery wearing it, but I thought I'd now go ahead anyway. Maybe later.
(Update: When we went to SoCal for Thanksgiving, Cossette wore this cute little dress. Below are a couple pictures from that day.)
 Her from the back showing off the fancy hair bow I made to go with the dress.
Now the cute little 3 year old is telling quite a story, and we can see the front of the dress pretty well.

Sunday, February 10, 2013

Finally Finished - Mom's Pi Shawl

A couple of years ago I posted about a project that I was working on. Here is the post regarding that crazy, lacy, sea foam green/turquoise, and difficult Pi Shawl I was working on for my sweet mother. 
As time consuming as each row was, I was excited to finish each step along the way, although admittedly, I did put it on the back burner for months at times as I was busy with other pressing projects that didn't require as constant attention as this one. 
Now after about 3 years, I have at last finished it. I will take it to my Mother and deliver it by hand for Valentines Day.
After edging for 7/8ths of the way around the circle.
Layed out and ready for blocking. The edges look ruffled instead of pointed at this time.
48 inches of center design
Blocking the edges to make sure each point is made apparent.
Center medallion and initial 8 spokes being formed.
After blocking, this Pi Shawl in my mothers favorite color is ready for any roundish table or to be folded and put around her shoulders.
I hope she can see it well enough to appreciate how much effort she is worthy of.

Monday, September 24, 2012

Dedication


Yesterday was a temple dedication that was wired in to all of the Utah congregations.
My Mom and Dad sent all their progeny (except half of my kids who they apparently don't have in the family email list,) this little note.

We just got home from the 3pm dedication session.  We, of course are in Utah. (St George) Want all of our family to once again realize that all of you living in Utah were invited to the Brigham City Dedication.  In our afternoon meeting Elder Nelson was the voice for dedicatory prayer.  We, as the singing of "The Spirit of God" was sung mentioned to each other that all of you were singing along with us and had waved the hankie together.  Now, 139 temples are in service.  When Joyce and I were children, there were 4 in Utah, 1 in Arizona, 1 in Canada, and 1 in Hawaii.  The Church will continue to grow and assist us with our righteous activities - whether it be in school, in our homes or at our work.  Even those of us who are retired will be blessed.  
Love you all this Sabbath afternoon, GPs Kel 

Never has the church done a dedication like this before, and my DD lives in Orem, so I made her this special temple hankie and sent it last week. I used 2 different white thread types. One was a bit shinier than the other and I use that for the leaves and flowers. In the pix below you can turn your neck around (even though I can't) to see the "S".
Here is the nearly finished piece as I gathered and sewed on the ruffled lace edging.  This kind of French val (cotton) lace has a thread on its header that just needs to be tugged on for a gathering affect, and it doesn't need much of a gather to make it very pretty. 
 These 4 surrounding mitered borders were completed about 20 years ago and saved in my lace bucket. I have meant to use them for before, but usually this gets put on the back burner when I'm busy with other things like a wedding gown or something. (right Kathryn?) So now they have been put to good use. I guess that's why I don't throw things away and why my sewing room looks is out of control.
 I had an extra mens handkerchief in my socks drawer so I put Steph's boyfriends initials on one and sent it too.
 Here is the end result.  I love it. So did Steph.


Monday, August 16, 2010

Record Time


Our newest granddaughter was blessed on Sunday. It was a lovely NorCal day as usual, and we had a nearly full family in town for the weekend, so even though her Mommy was originally thinking they would accomplish the task in perhaps October, this seemed like the best time to do it.
GET SEWING GRAMVI !!!
I did take pictures of the dress in progress, but alas my upload to the computer from the camera was a tragic loss today and so it is a good thing The Hubby is so reliable with his trusty camera. (is that an example of a run on sentence???)
I spent a lot of time on the shaped lace all over the front and scalloped hem of the under slip. There were 3 rows of insertion lace in scallops on the outer robe type dress as well. The whole thing was done in a very lightweight cotton batiste with french val lace all around. This delicate type of lace is easy to shape in various curves or geometrics because you can gather one edge of it by pulling a top thread and drawing it into your chosen shape.  I think that is why it is used for all the old fashioned looking heirloom clothing.  
I did some hand work, as in the above picture, on the very front of the dress. Even placed a "C" for Cossette in the center diamond. The rest was all done by machine.
I will retake some pictures of the dress so I can document the back of it better after I get back from a trip next week.
In the meantime....isn't she sweet!

Monday, July 19, 2010

Bristol's Blessing Dress

When I made my first Baby Blessing dress for a great niece more than 10 years ago, I vowed to myself that I would make one for each of my siblings families. I also made it a goal to make one for each of my children to use for their baby girls when the time came.
Well, the next girl that was born already had plans for something else. I decided that with such a personal gift, I needed to be sensitive to traditions and preferences of each individual family and not try to force my ideas on any of them.  Then I had a granddaughter of my own and my DIL also had other intentions for a blessing dress for the new little one.  So I just went with the flow and instead of making one for each "family" I now just make one for each child who's mother wants me too.
How's that?  Adapt and don't make my goals into someone else's.
Forward to now....
I've got to get to work on Kathryn's #2 girl's dress. She is due next month, and Kathryn has planned the dress with me, so I need to get going on it.
In the mean time, my SIL asked me to make one for their newest granddaughter and I want to show you that one.
This is baby Bristol and she is so beautiful in her blessing gown.
I made it out of natural silk dupioni, or raw silk. Her mother wanted me to make it out of her wedding dress, but we just got more of the same fabric instead of cutting into the actual wedding dress.
I started by making rows of pintucks in the fabric to use on the underskirt of the dress as well as on the bodice and sleeves.
I have a little plastic foot to use to separate each tuck from the previously sewn one.  I filled them with pearl cotton and used a double needle that had a separation of 1.6 mm.
This photo shows the beautiful sheen of the silk fabric.  I used the pintuck fabric in a "V" shape on the bodice, sleeves and bottom of the dress slip.
The top of the bodice pin tucks have french val lace gathered around it, and the seam between the skirt and bodice is finished with self piping.
Something that is easy to do, but gives a great finished look in the end.
Just cut 1 1/4 inch strips on the bias (diagonal on the fabric) because the bias is stretchier and so it makes the piping easier to go around any necessary corners.
The sleeves have the same detail but the lace surrounding the tucked fabric is not gathered. Notice the seam attaching the lace has tiny "entredeux" holes to give it an antique look.  I used a fat needle and a special stitch that most machines have, to give this affect.
Then I gathered the bottom of the main skirt up a little on the sides so that the underskirt peeks through.
Other blessing dressed I have made are in another previous post if you want to investigate further.
Here is the little bundle of joy. The day in Oregon was beautiful and the family time was really nice.
And Aunt Vicki even got to hold Bristol.
The proud father Sam with all the men in my family who were in on the blessing.  Large group, wouldn't you say, for one little child.
The whole group. We were all in town for the wedding the Friday before, so the party at Tom and Tracey's (the new grandparents) was full.

Thanks for letting me participate by making the dress Becky.