Back in November as a tractor was tearing up our back yard, I asked the operator to save me our in ground wooden bench for a little redo project.
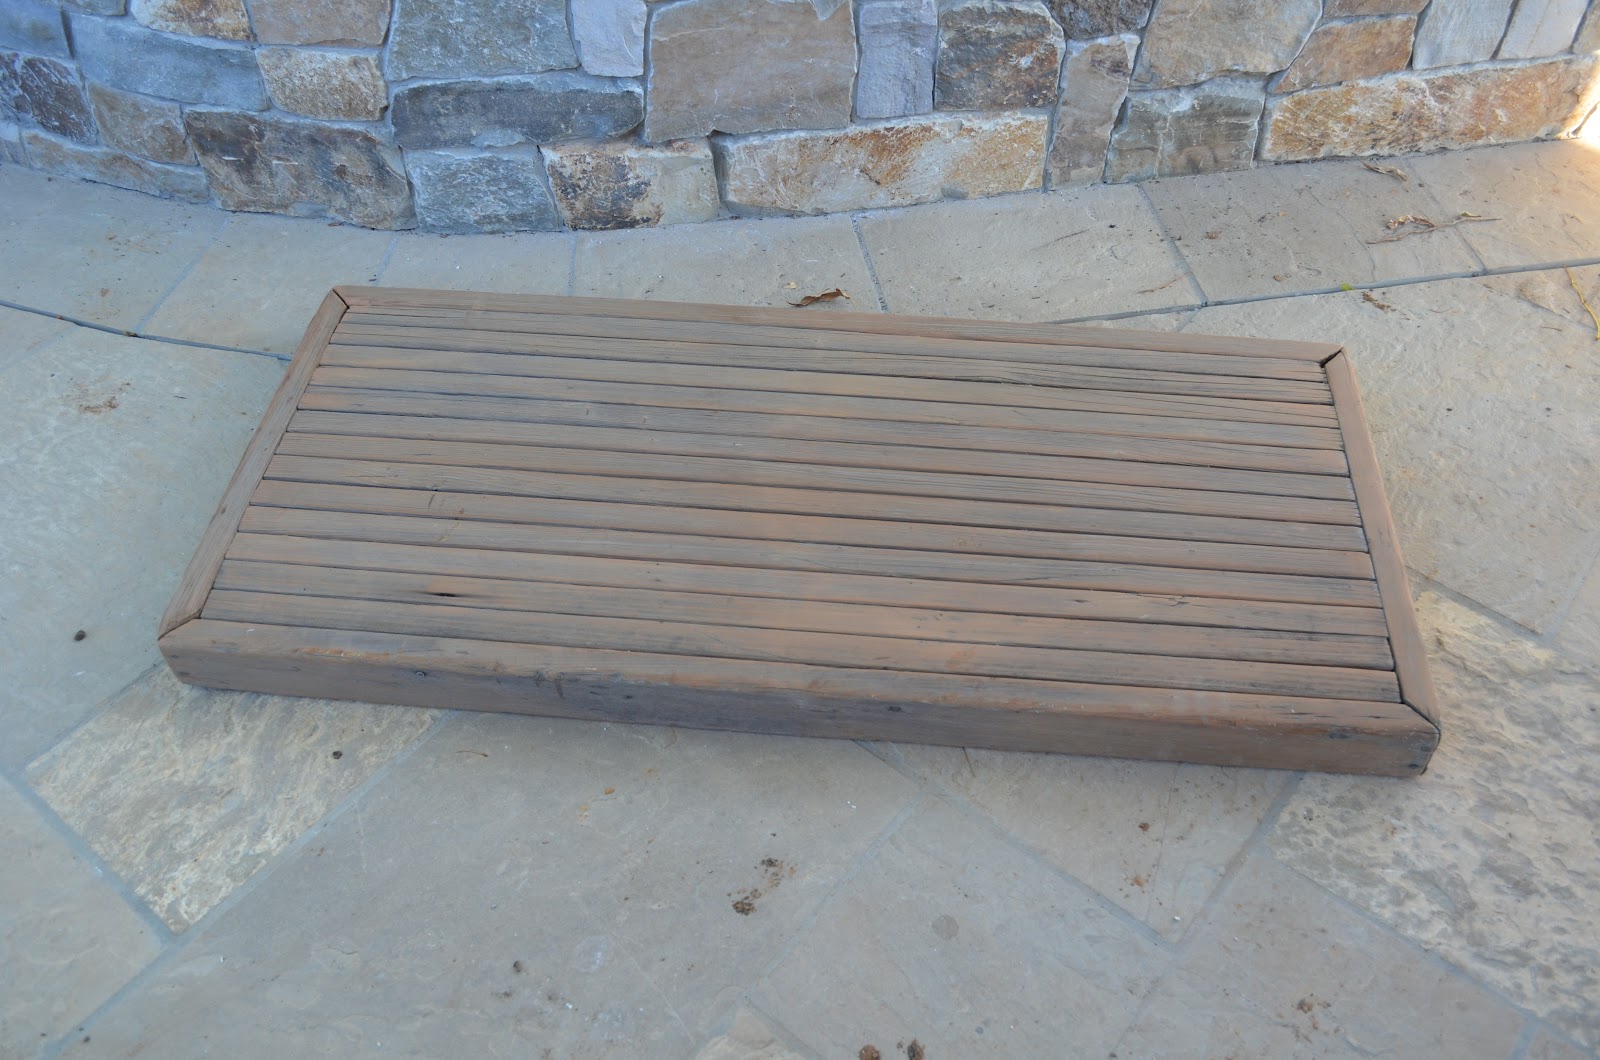
Uncared for yet reliable patio seating
It was about 20 inches wide by 7 feet long and had been placed near our family room door right in front of a brick planter probably 40 years ago when the back yard was first done well.
New finished length for table top
So it sat for several months, cause I wasn't sure which saw to use and or if we even had a saw that would cut through the 4 inch sides. Then I enlisted the help of The Hubby. He cut it in about ⅔ its original length and then took off the top of the short end that was mitered, to replace it onto the cut side of the long end. He also had to miter the 2 edge pieces. I told him it didn't need to be exact because it was supposed to look "rustic", but he did it pretty perfectly anyway.
We also saved the 4 x 4 posts from the cabana overhang that needed to be replaced, and cut them for legs. First we were cutting for a regular coffee table height of about 15 inches, but then we changed our minds and made it more like 20 inches so we can play games or what have you on the table in front of the outdoor couch. At least for some reason or other we decided we liked the taller height for a coffee table this time.
Now I had to sand down the post for the new legs.
Then paint them.
A few different colors, so it would look old and as if it had been repainted several times over the last hundred years. (Now it's going to be an antique.)
Then I did the sanding and painting of the table top. I had to start with a base white coat on this, because the legs had started with white.
Then I added bright yellow (left over from baby Ellery's newborn bedroom.)
Then a light blue color was painted on (color left over from the kitchen paint probably 15 years ago.)
Followed by a tan color that we have 4-5 versions of in our shed.
The Hubby then helped add the legs to the table with brackets as well as screws through the sides of the table. I was not worried about screws showing, but he did have to do a little more nail repair as many of the nails were loosely working their way out.
We put a rotating wheel on the bottom of each leg, so it'll be easy to move around. Actually maybe a little too easy, so I will place a stop under a couple of the wheels.
I then sanded it all down so each color of paint shows through in some areas, followed by a complete varnishing.
Lookin' pretty good. Now we'll just put it with some brand spanking new furniture and it'll be right at home. The Hubby thinks this is awfully peculiar, but he humors me and goes along with my hair brained ideas with a smile.
So now we have a nice little memory clad coffee table for our new outdoor covered living space.
Nice save? Silly project? What think ye?


i think you know what i think of this but i'll say it anyway... LOVE IT!! you guys did a great job! teamwork! that must have been the yellow from ellery's "bubbles" because it is pretty darn bright. how fun. we loved that splintery old bench & now it stays in the fam. :)
ReplyDeleteI think it's cool. And it will come in so handy!
ReplyDelete=)
how many times did I sit on that bench? So glad you made a fun, usable piece. Ü
ReplyDelete